![]()
|
|
![]()
|
|
In this final topic of the Discussion Board tutorial, you will enhance the basic application by allowing users to receive an e-mail if a reply has been posted to one of the threads they subscribed to. Each user that checked the Subscribe checkbox when posting a message or a reply should receive an e-mail message when another reply is posted.
In this section, you will modify the reply_message page, so that it also sends an e-mail message to all users that have subscribed to the thread. Subscribing to a thread is done when the checkbox in the post or reply message page is checked. When a user checks the Subscribe checkbox, the value of the subscribe_msg column from the message_msg table is set to 1.
The e-mail notification will be implemented using the Send E-mail To Recipients From Recordset server behavior. To create the recordset that retrieves all subscribed users, you will use MX Query Builder.
To implement this functionality, follow the next steps:
Open the reply_message page in Dreamweaver. This is where the send e-mail server behavior will be added. As explained when creating this page, the page receives as URL parameters the topic ID, the parent message ID, and the initial message ID. Based on the parent message ID, a recordset was created (rsOldMessage) retrieving all message details.
The recordset that will contain the e-mail addresses
of all subscribed users will have to retrieve its data from two tables:
message_msg and user_usr.
To create this recordset, you also need to define these conditions:
·
The subscribe_msg column must be equal to
1, to prevent sending notifications to people who are not interested in
receiving them.
·
The id_init_msg column must
be equal to the id_init_msg URL parameter,
to make sure only replies from the current thread are taken into account.
·
The id_usr column must be different from
the kt_login_id session variable that stores
the current user ID. Otherwise, the user will also receive a notification
when he replies to one of the messages in the thread.
To create the recordset in a simple, visual environment,
you will use the MX Query Builder again.
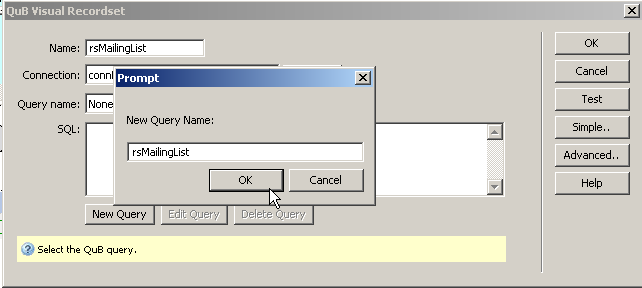
Create a simple recordset called rsMailingList
and start the MX Query Builder as you did
in the view messages page:
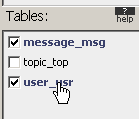
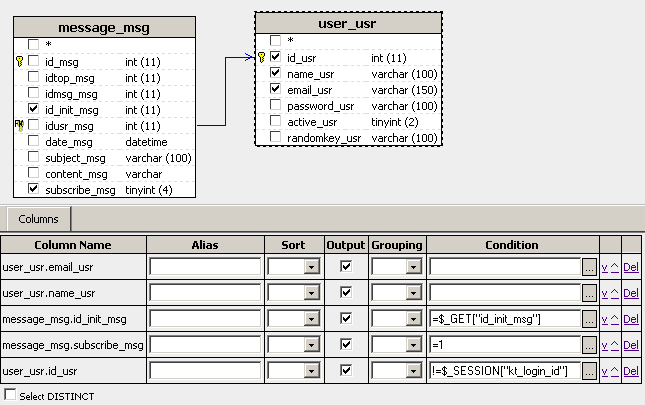
Once the MX Query Builder
web interface opens, add the message_msg
and user_usr tables to the query, by selecting
them from the Tables panel.
In the Database Diagram
drag the idusr_msg column from the message_msg table and drop it onto
the id_usr column from the user_usr table. This will link the two tables
using a LEFT JOIN.
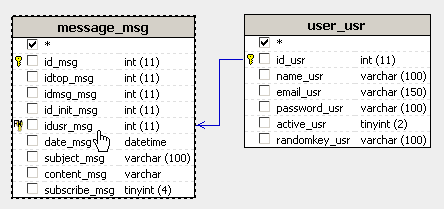
In the Database Diagram,
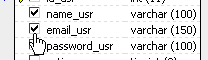
check the table columns you need for your recordset: id_usr,
email_usr, name_usr,
id_init_msg
and subscribe_msg.
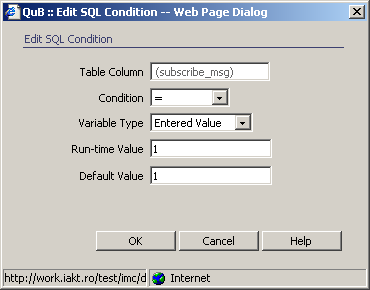
From the Query Management Panel, define a condition
for the subscribe_msg column, by clicking
the corresponding button next to the Condition text field.
The column should be equal to 1, so you should configure it as in the
image below:
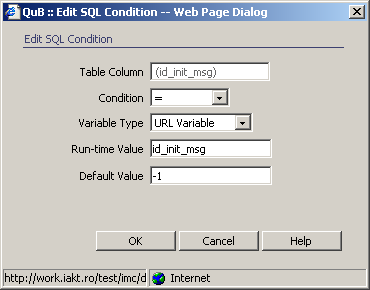
Next define a condition for the id_init_msg
column: it should be equal to the id_init_msg
URL parameter:
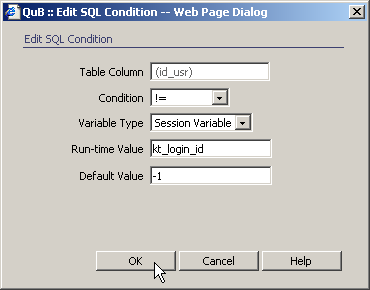
Finally, define a condition for the id_usr
column: it should be different from the kt_login_id session variable:
Once all the columns are selected, and the conditions
are set, the QuB3 user interface should look like in the following image:
Save the query by clicking the Save button from
the Query List panel. You can now close
the MX Query Builder web interface. Back
in Dreamweaver, press the Refresh
button to display the new query in the SQL
text area.

Click OK to generate the code for the
recordset.
Next apply the Send E-mail To Recipients From Recordset server behavior. You can access it from the Server Behaviors tab > + > Mx Kollection > Send E-mail.
Configure the user interface as follows:
In the Recordset drop-down menu select the rsMailingList recordset created at steps 2-11.
In the E-mail to field menu, select the email_usr field.
In the From field, enter an e-mail address, or leave it at its default value (this value can be changed from InterAKT Control Panel > Define e-mail server settings)
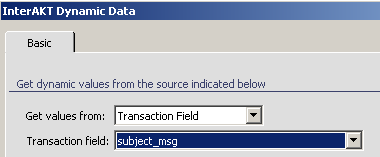
In the Subject
field, enter the text "Reply posted", then add the dynamic value
for the subject of the message, by using the InterAKT
Dynamic Data button. The dynamic value will be retrieved from the
transaction field {subject_msg}, as seen here:
Select to write the body of the e-mail, then
write a message in the Content text area. The message can be personalized
by including the user name from the rsMailingList recordset, using the
InterAKT Dynamic Data.
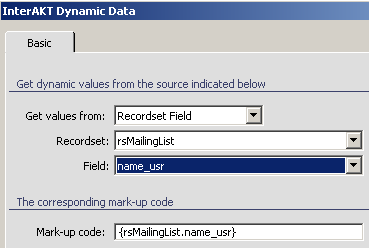
The corresponding mark-up code will be inserted in the Content
text area:
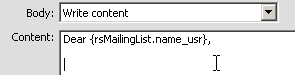
Type the following text after the introductory
line:
"A reply has been posted to one of your messages on the Discussion
Board. To read the message click"
Also, add a link to allow the user to view the corresponding message
thread:
<a href = view_messages.php?id_top={idtop_msg}>here</a>
To add dynamic data to the link, use the InterAKT
Dynamic Data.
Here is how the configured server behavior
should look like:

Save the page and upload it to the server. When
an user will post a reply to a message you're subscribed to, you will
receive an e-mail message using the format above.
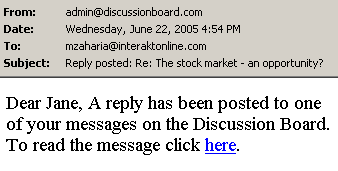
If you click on the link, it will open the view_message page, with the correct topic selected.
You have now completed the Discussion Board tutorial. Feel free to improve it in any way you like, using any of the MX Kollection server behaviors or by writing your own code.