Display
message threads
In this topic, you will learn how to create the page that displays all
messages associated to a specific topic, as well as options to Post a
message and to Reply to a message. Since this page only displays messages,
and does not allow users to post new ones, you do not need to apply a
server behavior.
The page must remain public.
Building the recordset
To create this page, follow the next steps:
Open the view_messages
page in Dreamweaver. The view_messages page
receives from the main page an URL parameter containing the topic ID,
which will be used to sort out the messages belonging to the selected
topic.
- Before creating any page elements, you need to decide
what will be shown for each message:
- the name of the user that posted it
- the message subject
- the date when the message was posted
- the message text
All messages
displayed on the page must belong to the same topic – the
one whose ID is passed as URL parameter to the page.
- The recordset to retrieve the elements is filtered,
and takes data from more than one table. The easiest way to create the
complex query is to use
(or simply QuB).
- To open the MX Query Builder interface, simply open
the Recordset dialog box, by clicking the + button from the tab, and selecting .
Enter rsMessages for the recordset name, select the database connection,
then click the button labeled , displayed
on the right of the interface.

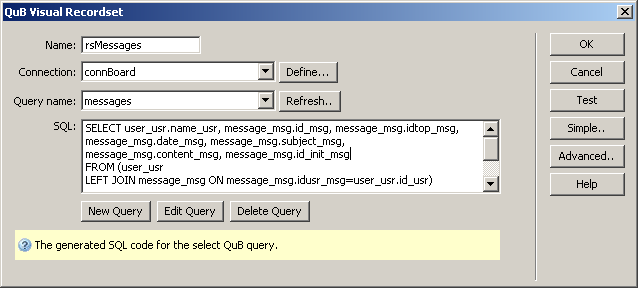
After clicking the QuB3 button, the dialog box opens:

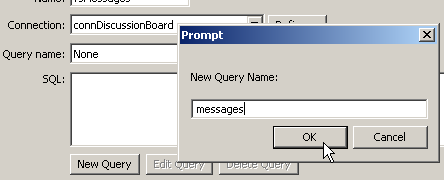
- You need to create a new query. Click on the button to start the MX Query Builder
web interface, where you will visually build the SQL query needed to extract
the information for this page.
Name the query messages.
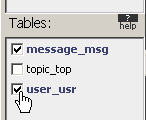
- Once the user interface opens, you have to select
the tables to use in the query. Simply click on the user_usr and message_msg
tables in the panel and they will
appear in the main area as well.
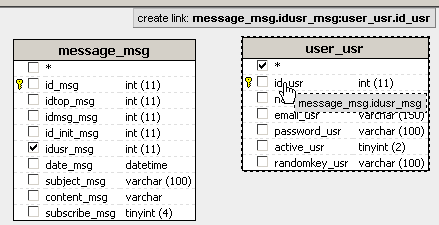
- In order to extract information from both tables,
a relationship (also known as JOIN)
must be defined between the two tables. To define the relationship, simply
drag and drop the idusr_msg field from the messages_msg table onto the
id_usr field of the user_usr table. A blue line will indicate the relationship.
- To decide which columns to use in the query, simply
click on their names. Select the following columns:
- from the user_usr table, you only need name_usr.
- from the messages_msg: id_msg, idtop_msg, id_init_msg,
date_msg, subject_msg and content_msg .
- As you click on each column name, it is checked,
and it also appears in the
panel. This is where you can set aliases, grouping and sorting rules for
each column, or define conditions.
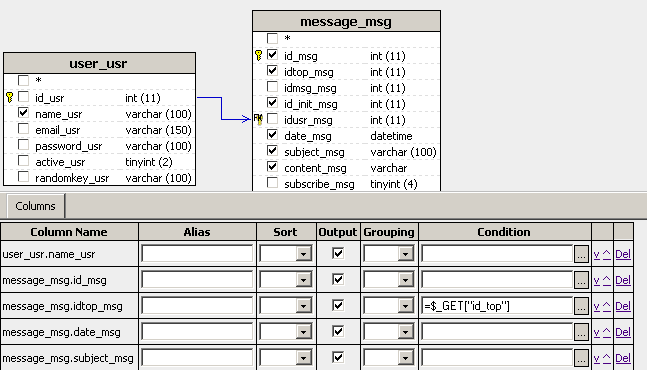
- All messages retrieved by the recordset must belong
to a specific topic, referenced by its ID, which is received via an URL
parameter from the index page. Therefore, you need to define a condition
on the column idtop_msg (which stores the
foreign key to the topic_top table). Click the button next to the Condition
text field corresponding to the idtop_msg
column.
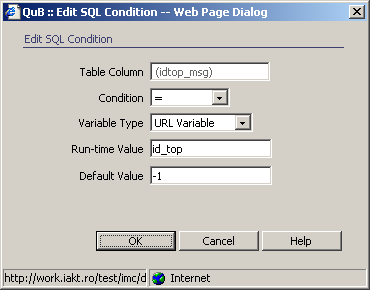
- A new dialog box opens where you can define the condition.
Configure it as follows:
- Set the Condition
operator to equal (=).
- Set the Variable Type
to URL Variable.
- In the Run-time Value,
enter the URL parameter's plain name (id_top). You do not need to enter
any code, as QuB will automatically generate the correct semantics.
- In the Default Value,
enter a numeric value that does not match any existing record. Usually,
a negative value is used.
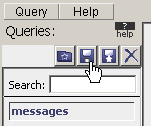
- After defining the condition, the query is complete.
Click on the save icon in to top left corner:
- Close the QuB web interface, by selecting Close from
the menu.

This will take you back to the
interface.
- To display the newly created query, click the button next to the drop-down. The SQL code generated by QuB should appear in
the text area:
- To complete the recordset creation, click on the
button. This will close the dialog box
and place the new rsMessage recordset in
the of the .
Displaying messages
- Now that you have all required columns in the recordset,
move on and add them to the page. Inside the middle row of the main table,
create another table containing three rows and three columns, as you have
done for the home page. Alternatively, you can use CSS styles to define
a different layout for your page.
The message details will be displayed as follows:
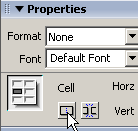
- In the first column (which will span downward
over the three rows) the author name will be displayed. Merge the first
column's three cells by selecting them and clicking the Merge cells icon
on the Property Inspector:
Drag and drop the name_usr field from
the in the merged cell.

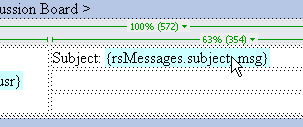
- The first row's second cell will display the
message subject. Type , then drag
and drop the subject_msg recordset column
after it.
- On the third column of the first row, add the
date when the message was posted. Type
and drag and drop the date_msg field from
the next to it.
- Merge the second row's last two columns, and
drag and drop the content_msg recordset field
inside the merged cell.
Finally, merge the third row's last two columns,
and type . Select the text,
right-click it, then select the
option. As target, select the reply_message
page. Click the button, to add
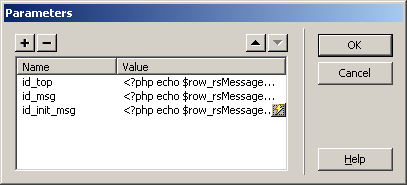
three URL parameters, that will be passed to the reply_message page:
·id_top - gets its value from the idtop_msg
field of the rsMessages recordset, and is
used to indicate the topic to which the reply belongs.
·id_msg – gets its value from the id_msg field
of the rsMessages recordset, and is used
to indicate the message to which the reply is posted.
·id_init_msg gets its value from the id_init_msg
field of the rsMessages recordset, and is
used to indicate the message that initiated the thread (the first message
of the topic).
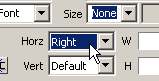
- To improve the appearance of the page, align the
link horizontally to the right, by selecting the text and then choosing
Right from the Horz menu in the Property Inspector:
At this point, the view_messages page should
look as follows in Dreamweaver Design View:

- As you can see, all elements that need to be displayed
for a message are in place. Now, you only need to repeat the information
for each message retrieved by the recordset. This is done as in the main
page, by using a Repeated region.
Select the table containing the message information (not the page table)
and apply the command from
the tab of the Insert panel.
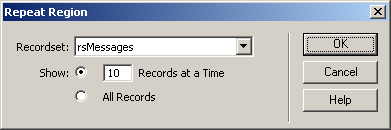
In the dialog box that opens, select the rsMessages
recordset as source, and set a number of records to display on page (10
is just fine). This is needed as there can be many messages inside a single
topic, and this allows a better view.
- The next step is to create the navigation elements
that will allow users to browse through message pages. Without a navigation
bar, visitors of your site will always see just the first 10 messages
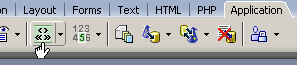
of each topic, without any possibility of seeing the rest. Place your
mouse cursor immediately below the repeated region containing the message,
then click the
command from the tab of the
:
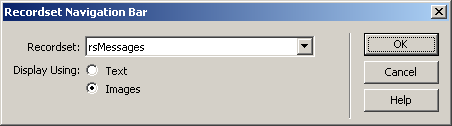
Configure it to use the rsMessages recordset
(like the Repeated Region). Also set it to use images as navigation buttons.
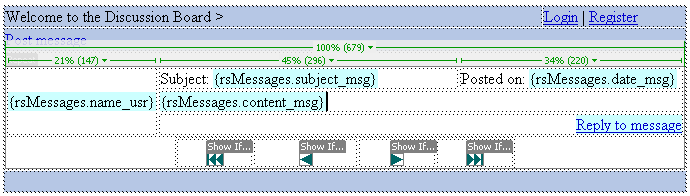
After you click OK, your page should look like this in Dreamweaver
Design View:
- Now all the elements necessary to display messages
associated with a topic are in place, and the page is fully functional.
It even contains links to post a new message, or to reply to an existing
message. Posting and replying are however allowed only for registered
and logged in users. Since the post_message
and reply_message pages contain server behaviors, visitors accessing these pages
by clicking the links in the view_message page
will be automatically redirected to the login page, where they will have
to authenticate.
Controlling content with conditional regions
- Rather than redirecting the visitors, it would be
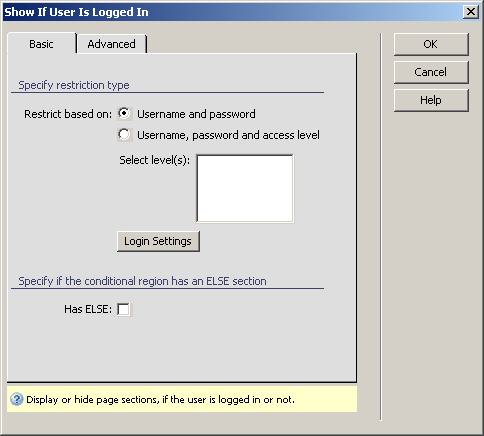
better to show the links only when a user is logged in. has a conditional region for this task called . Select each of these
links and apply the server behavior from the .
Configure the server behavior to use only the username and password for
authentication:
- Next, apply the same conditional region (Show If
User Is Logged In) on the "Post message" link and on the "Reply
to message" link.
- The same thing must be done for the "Logout"
link. This link should be visible only to those users who have already
authenticated to the site, while the "Register" and "Login"
links should be hidden. Obviously, a logged in user does not need to create
an account or login again. In order to obtain this behavior, you'll have
to:
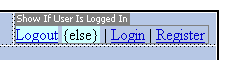
Select the "Logout" link and apply the "Show If User
Is Logged In" conditional region on it. This time, check the Has ELSE checkbox. You'll use the ELSE code block
to display the remaining links (Register and Login) when the condition
is not fulfilled, i.e. the user is not logged in. After you apply the
conditional region on the "Logout" link, you'll notice a gray
border surrounding it:

You need to replace the "Else text. Replace this." with the
two links that remain outside the conditional region. Your page should
look like this in the end:
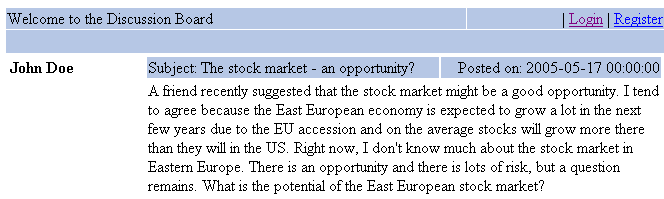
When
a user that is not logged in views messages inside a topic, each message
will look as follows (it will not display the post and reply links):
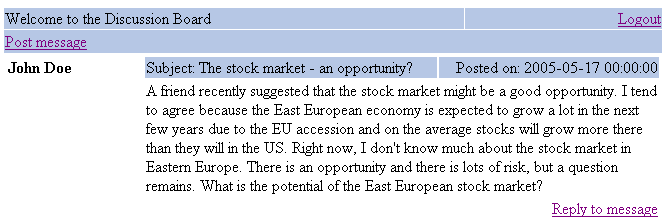
For
authenticated users, the "Log out", "Post message"
and "Reply to message" links are available:
Trimming the page
You have to add an URL parameter to the Post message
link, to make pass the topic ID to the post_message page. You will need
the topic ID in that page in order to know under what topic the new message
falls. Name the URL parameter id_top and
set its value to the topic ID, which is already received as an URL parameter
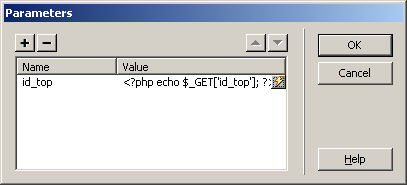
in the view_messages page. To add the parameter,
select the "Post message" text and right-click on it. From the
pop-up menu, select the Change Link option, then click the Parameter button
in the dialog box that opens. Enter the new parameter's name (id_top),
and in the value box, enter the code that will retrieve the id_top URL
parameter. This code varies depending on the particular server model you
are using:
For and ,
write: <?php echo $_GET['id_top']; ?>
For , write: <cfoutput>#URL.id_top#</cfoutput>
For , write: <%
= Request.QueryString("id_top") %>
This page's functionality is now complete. There
are some things left to be done, that only improve the overall look of
the page, such as displaying the current topic name in the page. To accomplish
this, you simply need to create a filtered recordset (rsTopics)
, that retrieves all records from the topic_top table with the same ID
as the one passed as an URL parameter.
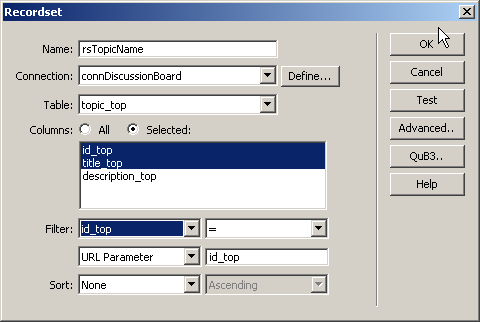
Once the recordset is created, simply drag the title_top
recordset field from the Bindings tab and drop it onto the page. Here
is how the page should in the browser:
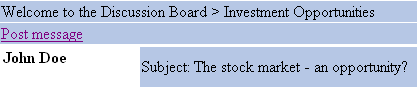
An improvement to the message viewing page is to transform the Welcome to the Discussion Board text
into a link that will point to the site's main page (the home page displaying
the list of topics).
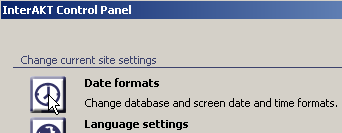
Finally, you might want to change the date format for displaying the
date when messages were posted. It's not very user friendly to see dates
such as 2005-05-17 00:00:00. You can change the way dates are displayed
from the InterAKT Control Panel >
Date formats.
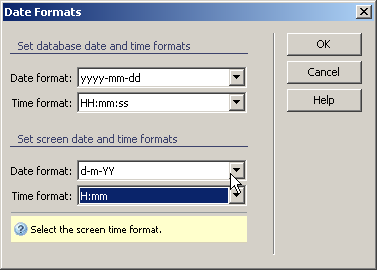
In the displayed dialog box, select the screen date and time format
of your choice:
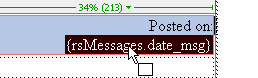
However, before you can see the changes, there's one extra step you
need to do. The selected format applies only to code generated by MX Kollection.
To apply it to the date you grabbed from the rsMessages recordset, select
the {rsMessages.date_msg} dynamic text from your page:
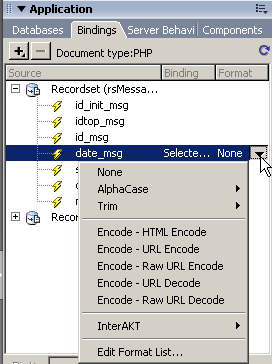
Then go to the tab and click
the arrow next to the date_msg field:
From the displayed menu, select
> :
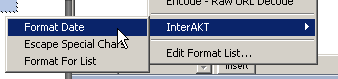
Click OK and load the page in the browser to see how it looks.
Since the message viewing page is completed, save and close it. Then
move on to the next section, where
you will learn how to create the page that allows users post new messages.