![]()
|
|
![]()
|
|
The current organization of the gallery files does not allow simple navigation through all of the albums and pictures. That is why in this tutorial topic you will enhance the gallery, by putting all the elements that make up the gallery in a single page. You will reuse the pages created so far, using MX Includes, which allows placing existing files within a single page in a static or dynamic way.
On the gallery home page (index.php), you will place the following elements:
A menu listing all the albums, linked to display the images in each specific album.
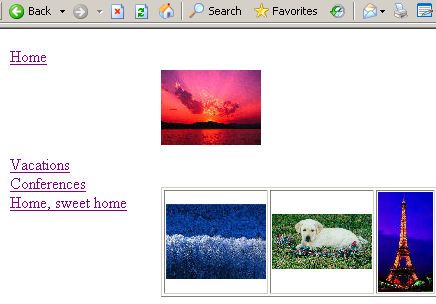
The center of the page will display different pages, depending on the value of an URL parameter. If an album hasn't been selected yet, the page containing the random image and the latest 5 additions to the gallery will be displayed.
When a thumbnail is clicked, the center of the gallery home page will display the full-sized image.
MX Includes is a tool that allows easy code-reuse, incorporating already made pages into others, in a static or dynamic manner. To learn more about this product, please see Reuse content: Server-Side Includes.
Before actually creating the main page, you must decide what files will be used, and if they require any modifications:
The default.php file in the site root containing the random image and the most recently uploaded images will be displayed when no other action is taken, in the main page center.
The album.php page will be displayed in the main page when a link from the menu is clicked, showing the images in that particular album.
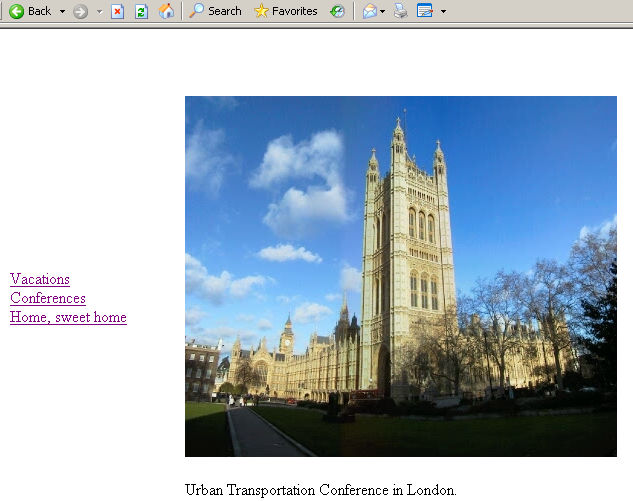
The full_view.php file will be used on the main page to show the images at their original size.
The menu.php will be statically included in order to allow site visitors browse the albums.
The menu file requires some modifications, as all of its links point to the album.php page.
Next you have to modify the menu to be displayed in the home page. To do so, follow the next steps:
Open the menu.php file in Dreamweaver.
Link each album title to the index.php
page, because the menu, as well as the images will be displayed there.
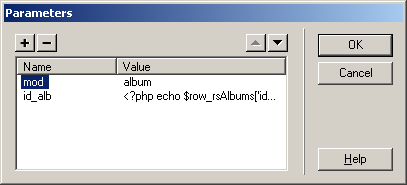
The links must also pass the id_alb URL
parameter, as well as a static parameter, which will be used to determine
which page to load in the index file: Set its
name to mod, and its value to
album.
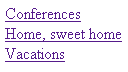
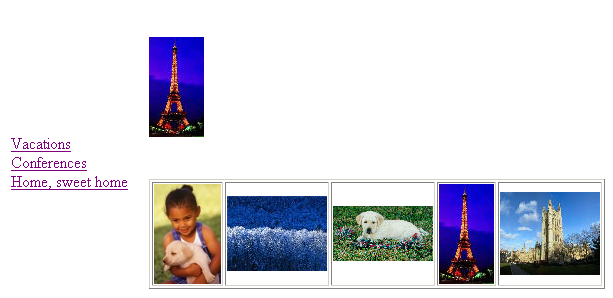
If needed, trim the table rows and columns so
that the browser view will appear like the image below. Save the file
and close it. The browser preview will simply display a set of links:
The next file to be changed is default.php:
Open the default.php file in Dreamweaver.
Select the show thumbnail translator in the Horizontal Looper. This is the one used to display the latest 5 additions.
Change its link, so that it will point to the index.php page. Leave the id_img parameter in place, and also add another: name: mod, value: detail, similar to the image above.
Save the page and close it for now.
It is time to begin creating the site's new main page. To do so, follow the instructions below:
Open the index file in Dreamweaver.
Add a new table containing 2 rows and 2 columns. Set the border to 0.
Click in the second row's first column. This is where the menu will be displayed.
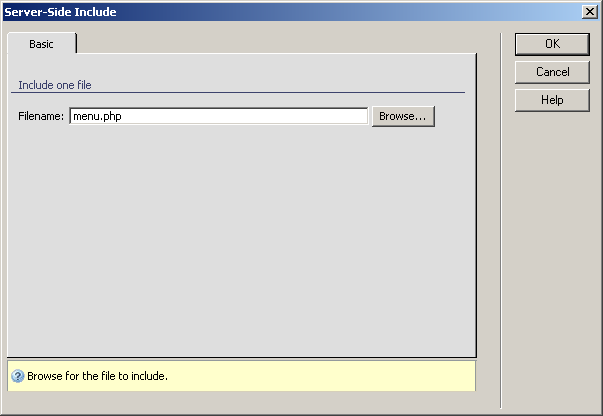
Apply the Server-Side Include server behavior from Server Behaviors -> + -> MX Kollection -> MX Includes.
Use the Browse button
to select the menu file and click the OK button to close the dialog box. Now the menu
will appear on page.
Click in the second row's second cell. This is where different pages will load, depending on an URL parameter. This parameter will be called mod (from mode).
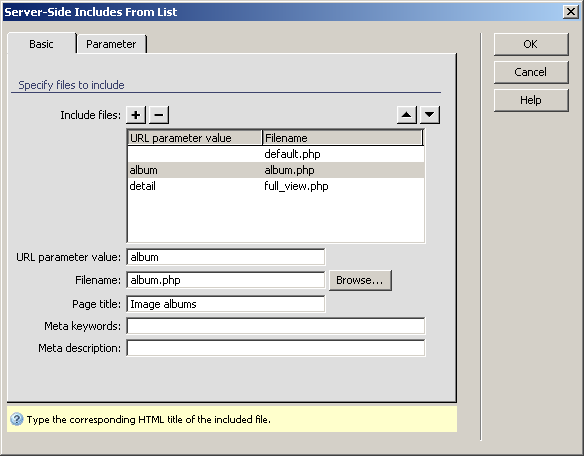
Apply the Server-Side Includes From List server behavior from Server Behaviors -> + -> MX Kollection -> MX Includes.
To configure the Basic
tab, enter the next 3 value/page to load/title groups:
· URL
value: leave empty; Filename: default.php;
Title: Welcome to the Image Gallery
· URL
value: album; Filename: album.php;
Title : Images in album.
· URL
value: detail; Filename: full_view.php;
Title: Image details.
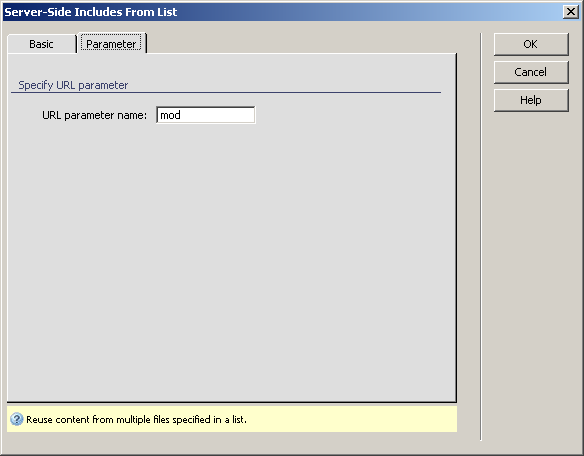
To configure the Parameter
tab, enter mod in the respective text box:
Click OK button to close the dialog box.
Save the page and preview it in the browser. The
default page that opens displays the random image, as well as the latest
5 additions.
There is still one more tweak before your gallery is ready. When you click on an image to see it full scale, it opens the full_view page, instead of the new home page. This is what you will have to change next: edit the links on the images.
Open the album page in Dreamweaver. You will have to edit the links on images, so that it will open the correct page with the right parameters.