![]()
|
|
![]()
|
|
In this section of the tutorial you will create the NeXTensio Form, which is a complement to the NeXTensio List, allowing you to perform various operations on records: insert, update and delete. During the creation of the form itself, you will decide when to use which of the create or update fields.
To build the form, follow the next steps:
Open the form file in Dreamweaver. If you have specified another file in the NeXTensio List Wizard configuration, you must use that file instead of form, because the link is already established between the list and that specific file. In what follows, it will be presumed that the file to use is form.
Apply the Create NeXTensio Form Wizard from the MX Kollection tab of the Insert bar. Configure each step of the wizard as mentioned below.
The first step of the wizard is already filled in thanks to the user interface persistence. The connection and the table are already selected, so you can safely proceed to the second step.
In the second step of the wizard you have to set up properties for each field: the element label, type, submit type, default value and the operation that uses it: update, insert or both. Here is the key to use only the creation or modification date.
Leave the title to be displayed as a text field and set the content_art field to use a textarea.
Select the created_art
field and set it to be displayed as text. For the default value enter
the {NOW_DT} mark-up. This will be replaced
at runtime with the current date and time. The creation date is not editable
in the form, yet used at the moment on both insert and update. This means
that when a record is edited, the creation date will be modified and this
is not what is expected. To restrict the use of the created_art
field only for the insert operation, in the Show
on drop-down menu select Insert only.
At last, change its Label to Created
on.
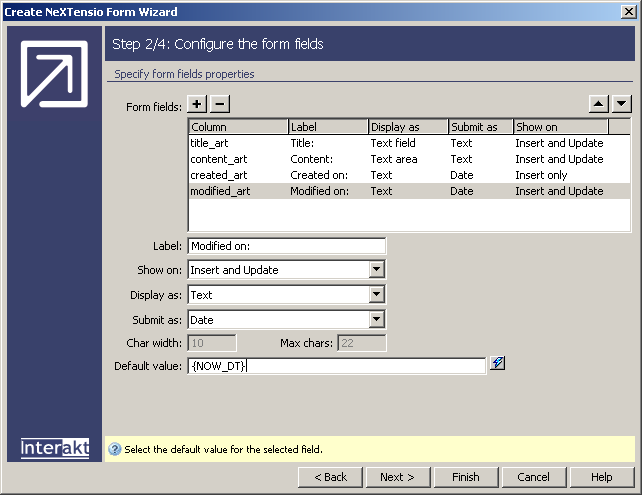
For the modified_art field you have two choices of action, depending on the case you plan to use:
Upon creation of a new article, the modified date is set to the current date, as well as the creation date. To achieve this, you must set the modified_art field to be used both on insert and update from the Show on drop-down menu. As for the Display element and default value, they are the same as for the creation date: Display as text and Default value is {NOW_DT}.
The modified_art date gets a value only when the article is updated for the first time, and not on insert. For this case, the field will be shown on Update only. Select this option from the drop-down menu and set the other options similar to the first case. Additionally, you will have to set the modified_art table column to allow NULL values (as you will not insert a value when the article is created).
Also change the Label from Modified to Modified on.
When all fields have been configured, you can click the Finish button to apply the wizard. Beside the HTML elements that create the form, some server behaviors will be added to perform the actions.
The default value set in the NeXTensio form wizard is only used for the insert transaction. On update, the value already in the database is maintained. To add a default value for the update case, follow the next steps:
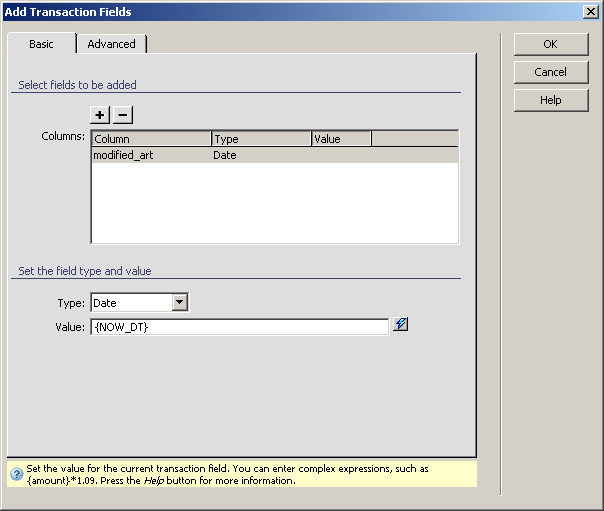
Add the Add Transaction Fields server behavior to the page. You can access it from the Server behaviors tab > + > MX Kollection > Forms > Advanced. The user interface is divided into two tabs: Basic and Advanced. Configure them as follows.
In the Basic tab click on the Plus (+) button to see a list of fields that can be added. From the list, select the modified_art field and click OK.
For the modified_art
field selected in the Columns list, you
now have to enter a value that can be added. This is done through the
Value text field displayed below the grid.
In this text field you can enter either static or dynamic data, using
the InterAKT mark-ups. To have the modified date set as the current date
and time, use the following mark-up: {NOW_DT}.
Next switch to the Advanced tab, by clicking on its label. This is where properties for the trigger can be set.
The one property that is of interest is the
transaction to which the trigger is registered to (the transaction which
uses it). Initially, both the insert and update transactions are listed.
Select the insert transaction (ins_article_art)
and click on the Minus (-) button to remove
it.
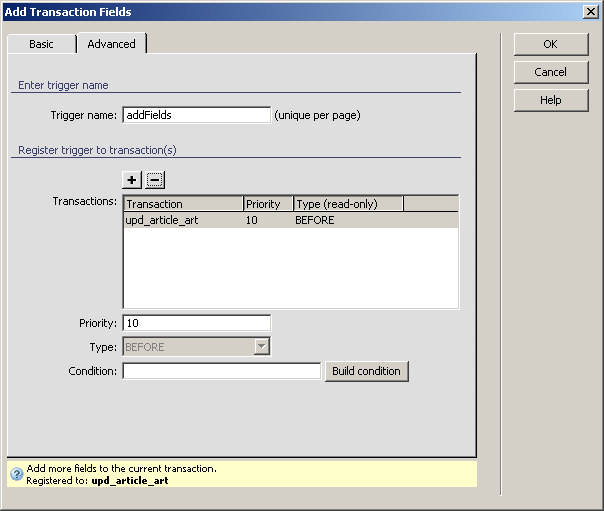
Now click OK to close the user interface and add the server behavior to the page.
Save the page and upload it to the server. Also make sure you upload the entire includes folder, as well as the index page. In order to check out the result in the browser, open the index by pressing F12 in Dreamweaver.
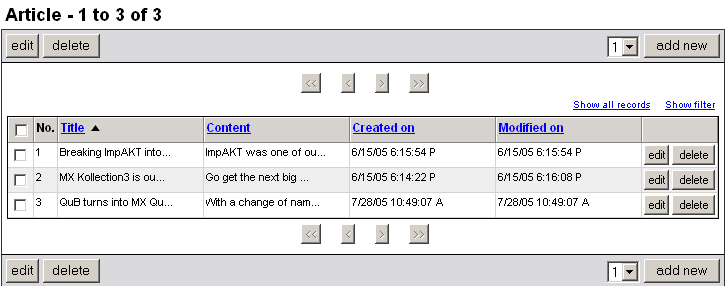
As you can see in the image below, the list already has some elements
which are displayed with creation and modification time. Simply by looking
at the list you can tell that the second article was modified after creation:
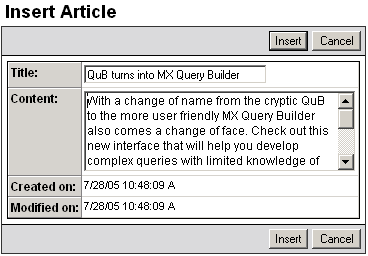
When you hit the add new button, the form page will load, displaying
both the creation and modified on fields with a date and time (the first
approach was used):
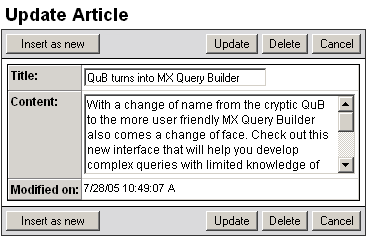
And when you hit the edit button, only the modified on date will be
displayed. The creation date is no longer shown on page:
You can use the Show on feature in other cases where you need fields displayed only for one of the insert or update operations (e.g. the username that must not be changed on update).