Add
and edit articles using the same form
Having a simple list of articles is of no real use in a CMS. You have
to be able to add, delete and
also edit pages using a simple interface. When you created the listing
using the NeXTensio List Wizard in the previous tutorial page, in the
first step, you specified a file to use for the form: detail_art.php.
After testing the page in the wizard, you may have noticed that when you
click on the add / edit links, the browser points to the detail_art
page, which is, for the moment, blank. Also, the delete buttons seem to
have no effect whatsoever.
To create this page, you will use the
List's counterpart: the ,
which will create all of the required elements.
Before you start this wizard, you should secure this page, in the same
manner as the article listing page:
apply the server behavior,
based on user name and password.
Once you've got your page secured, click on the from the of the , and configure
it as follows:
-
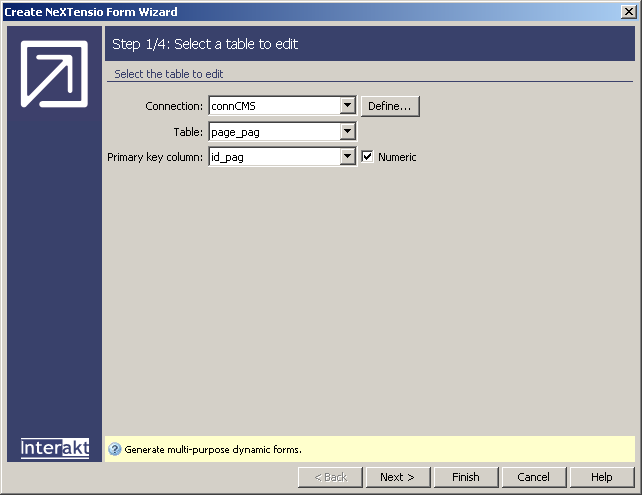
In the wizard's first step, enter details regarding the table to use,
and the means to access it:
- Select the connection you've defined for your
site in the Connection drop-down menu.
- Select the page_pag
table, as the table on which the insert/update/delete operations will
take place.
-
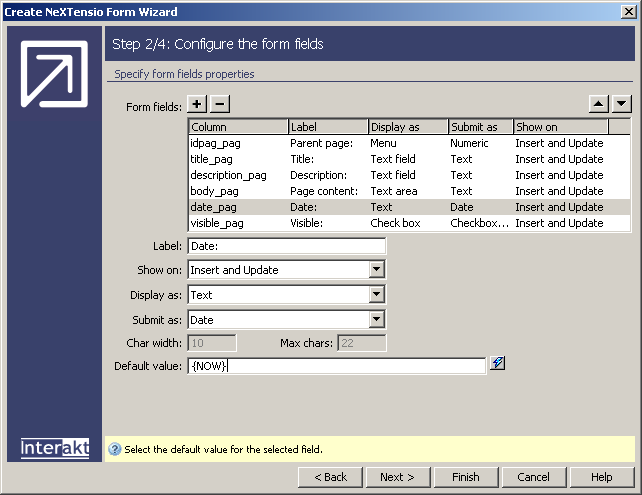
In the second step of the wizard, you have to define the columns that
will be used in the transactions, and what form fields will be used:
- For the idpag_pag,
which is the self-foreign key that determines the parent article or the
one that is currently inserted, the user should not be allowed to type
values directly. To avoid this, you should set its form element to . By using a menu, you can use dynamic data,
and restrict the choices to available ones. Once you select the menu element
in the Display as drop-down, two new buttons will become available:
and . Click on the button to create a new recordset,
that retrieves all entries having the
foreign key
equal with 0. This is done in a similar manner to the recordset created
for the navigation menu.
- Once you have created the recordset, you can
click on the button and
define which filed is to be used for the labels, and which for the values.
Configure the dialog box to use the
column as label, and the as value.
Also change its label to something more suggestive (e.g. Parent article)..
- The second form field to alter is .
Set it to be displayed on page as text area, and change its label to .
- The
form field only has two options: visible and invisible. This is stored
in the database
as 1 and 0. Due to the user interface, the field is configured as a checkbox
(as set in the list). To make it more suggestive, you will change the
element to a menu, which contains two options:
and .
Choose in the Display
as drop-down menu, and then click the button to add the two items: label - Visible, value
- 1, and label - Invisible, value - 0.
- The last field, storing the date of the article's
insertion should be automatically completed with the current date. To
achieve this, first set the Display as option
to text, and in the Default value, enter
the following mark-up: {NOW}. This will be replaced
at runtime with the actual date.
- The wizard's third step deals with applying validation
rules on the form fields. As there are no fields with special requirements,
you can safely skip this step. Also, if you do not have installed, there is no third step of the wizard.
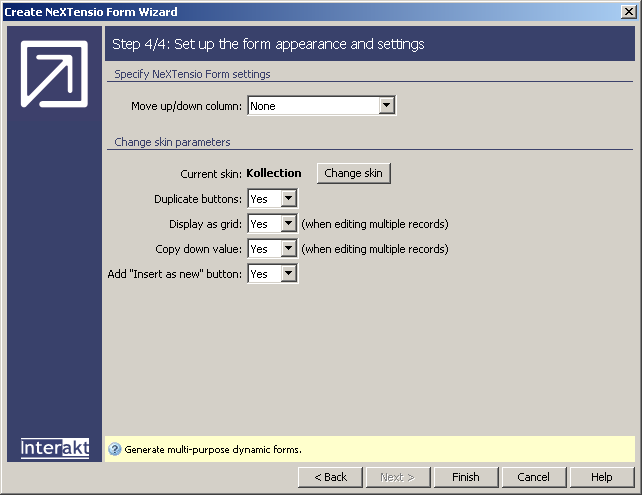
- In the final step you can specify some display settings,
or leave the fields at their default.
Now click on the button to close
the wizard's dialog box, and add all elements into the page. In Dreamweaver,
you will have now all of the HTML form elements and some server behaviors.
This page allows you to add, edit and delete entries. It can be called
either from the article listing page, to edit or delete a specific record,
whose ID is passed through an URL parameter, or directly, in which case,
it will act as a normal insertion form:

Because you've applied the server behavior, you cannot simply preview the page in the
browser, as it would redirect
you to the login page. Once you login though, visit the page, and click on the edit link aside one of the articles.
A page similar to the following will be displayed for the update operation:

Now, through these two pages, you can completely administer the articles.