After applying the Create
NeXTensio List Wizard, you can notice in the Server
Behaviors tab the server behavior that is added, namely the NeXTensio
List Layout. You cannot find it
in the MX Kollection 3 menu as it can only
be used after applying the Create NeXTensio List
Wizard, which adds it to the server behaviors list of the page.
You can use the NeXTensio
List Layout
server behavior (by double-clicking on it) to alter the NeXTensio
list properties (mainly the visual elements like the skin and the buttons)
at a later time. The server behavior contains two tabs.
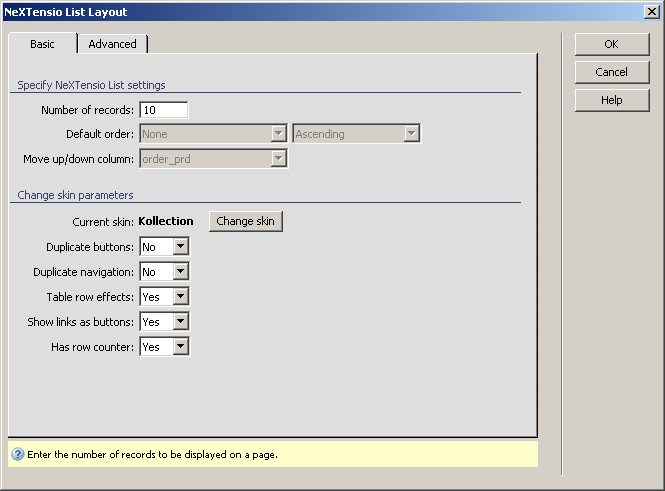
To set the dialog box options for the Basic
tab, follow the next steps:
In the Number of records
text field specify how many records will be displayed in the list at a
time.
In the Default order drop-down
menu on the left (if enabled) select the column by which the list will
be sorted. In the drop-down menu on the right select the manner in which
the sorting is to be made: Ascending or Descending.
In the Move up/down column
read-only drop-down menu you can view what table column was selected previously (in the Create NeXTensio List Wizard) for the records
order.
Note: If you selected a Move up/down column
in your list when using the Create
NeXTensio List Wizard and later on you want to remove it, you can
do this by right-clicking on that column (in Design
View in Dreamweaver) and then selecting
Table -> Delete Column. You cannot remove
this column using one of the server behaviors.
The Current skin used
in your site (in all the pages included, not only the current one) has
its name displayed in bold text. The Change skin
button offers the possibility of choosing another skin or None,
if you don't want to use any skin. For more details, read CSS
Skins.
In the Duplicate buttons
drop-down menu select whether or not you want the list buttons to be displayed
both in the list's footer and header, or only in the list's footer.
In the Duplicate navigation
drop-down menu select if the navigation elements will be displayed both
in the footer and header, or only in the list header.
In the Table row effects
drop-down menu select whether or not you want rows to be highlighted when
the mouse is over them.
In the Show links as buttons
drop-down menu select whether or not you want the links to be shown as
buttons.
In the Has row counter
drop-down menu select Yes if you want to
display a counter in the list's first column, and No
otherwise. It is not related to the columns in the database, but to the
list row on which they are displayed.
Click on the Advanced
tab to continue configuring the server behavior.
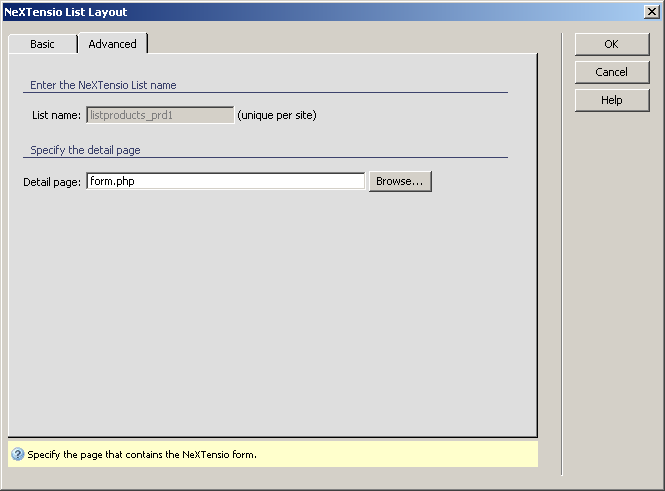
To set the dialog box options for the Advanced
tab, follow the next steps:
In the List name
read-only text box you can read the name of the NeXTensio
list. It is formed by putting together the word 'list', the name of the
database table, and a unique number per site.
In the Detail page
text box you can enter another file than the one already there, file in
relation with the NeXTensio list. This file
should contain a NeXTensio form (that will
display all the record details). You can either type its name or use the
Browse button to locate it on your computer.
Click OK when you
are done configuring the NeXTensio
List Layout
server behavior.