A server behavior is a reusable component for server-side development.
They add blocks of code to your pages for accomplishing specific tasks.
Dreamweaver comes with several default server behaviors and the InterAKT
extensions add many more to this list.
A transaction is a group of SQL statements whose effects are logically
connected. Anything from simple queries to inserting, and deleting operations
can be considered a transaction, as well as more complex groups of several
statements which accomplish a specific task.
A database refers to data organized and stored on a computer that can
be searched and retrieved by a computer program. Most industrial-strength
and many smaller database applications can be addressed using SQL (Structured
Query
Language).
A query is a SQL command that will extract information from the tables
of a database. Essentially, a query is a request for information from
your database.
A trigger is a SQL procedure that performs an action when a transaction
(INSERT, UPDATE, DELETE) occurs. You can use triggers to perform validation
of input data, to automatically generate a value for a newly inserted
row, to read from other tables for cross-referencing purposes, or to support
alerts through e-mail messages.
Upload and resize images
This ImpAKT feature is designed to allow
the web developer to easily upload images in their dynamic sites. The
advantage of this trigger is
the ability to resize the pictures used in the site design. The Upload and Resize Imageserver
behavior
must be associated to an insert or
an updatetransaction,
and before applying it, there must be a file field in your Dreamweaver
page.
This server behavior is accessible from the Application
panel, Server Behaviors -> + -> MX Kollection
-> File Upload -> Upload and Resize Image.
The user interface has three tabs. Directions about the correct configuration
of each one is given below.
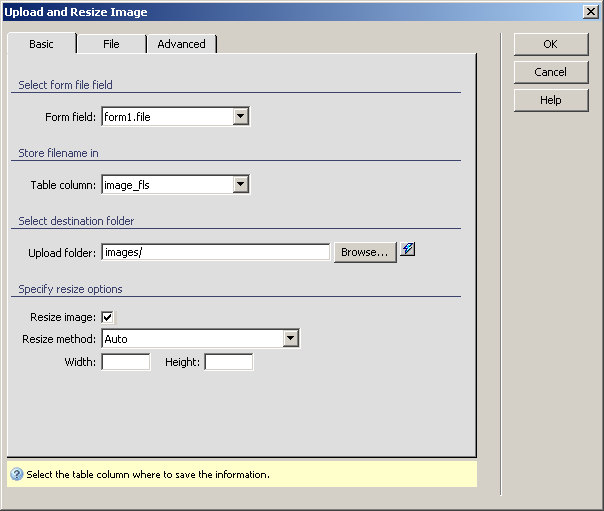
To set the dialog box options for the first tab, follow the next steps:
In the Form field drop-down
menu select one of the current file fields of the form included on your
Dreamweaver page.
In the Table column
drop-down menu select the database
table field where you want to upload the image. You can also select None, which means that the image file name will
not be saved in the database.
In the Upload folder
text box enter the name of the folder where the images will be uploaded.
You can use the Browse button to select
a static folder and then you can append to it a dynamic value by using
the InterAKT Dynamic Data
selector.
The Resize image checkbox
enables the option of resizing the uploaded image. When checked, the next
three controls are activated.
In
the Resize method drop-down menu select one
of the five available options:
· Auto,
when both the Width and Height
text boxes below this drop-down menu are enabled. Depending on which
of the two you fill in, the resize will be made either proportionally
or fixed.
· Proportional
- Fit to box, when both the Width
and Height text boxes below this drop-down
menu are enabled. The image will be resized so as to keep its original
aspect ratio, but at the same time fit inside a rectangle having the specified
dimensions (the image's longest dimension must be less than the box's
shortest dimension).
· Proportional
- Fixed width, when only the Width
text box below is enabled. The image height is dynamically calculated,
proportionally with the entered width.
· Proportional
- Fixed height, when only the Height
text box below is enabled. The image
width is dynamically calculated, proportionally with the entered height.
· Fixed
width and height, when both the Width
and Height text boxes below this drop-down
menu are enabled. The image is resized to the entered dimensions, but
the original aspect ratio will be lost.
Tip: Images will be resized only if the one of their dimensions
exceeds the specified ones. Otherwise, images will be left at their original
dimensions.
In the Width text box,
when enabled, enter the number of pixels corresponding to the image width.
In the Height text box,
when enabled, enter the number of pixels corresponding to the image height.
The three buttons in the top right corner of the
interface offer you the next functionalities:
· Click OK when you are done configuring the trigger.
· Click Cancel to exit without applying the new settings.
· The Help button opens this help page.
These buttons are common to all three tabs of the
Image Upload and Resize trigger interface.
Click on the File tab
to continue with configuring the trigger.
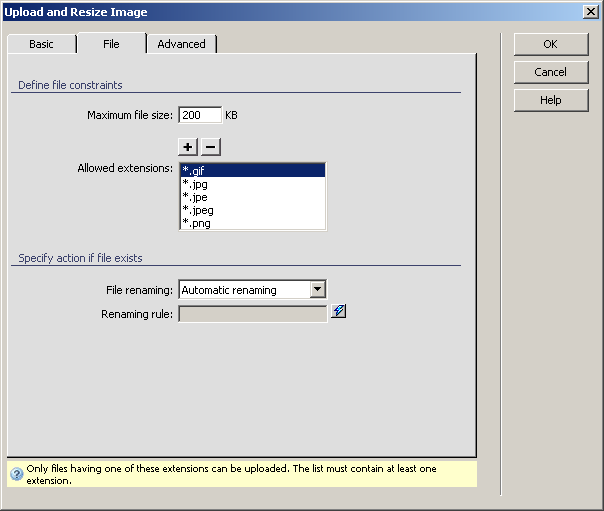
To set the dialog box options for the second tab, follow the next steps:
In the Maximum file size
text box enter the maximum size that the uploaded image files can have.
The measurement unit is the kilo byte (kB).
If the entered size is 0 (zero), then the maximum file size allowed will
be the one accepted by the server.
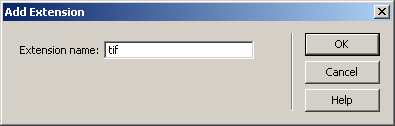
In the Allowed
extensions area specify the list of extensions that the image files
to be uploaded can have. You can add new ones manually, by using the Plus (+) button:
The Minus (-)
button is used to remove extensions from the grid.
In the File renaming
drop-down menu select one of the three available options:
· Automatic
renaming - the file is given a new, unique name (by adding a number
at the end, before the file extension).
· Block
upload - the file is not renamed, and the transaction is not executed
if a file with the same name exists.
· Custom
renaming - this options enables the last control of this interface,
namely the text box below.
Note: If in the first tab, you chose no Table
column, the Automatic renaming option
is automatically selected and then the drop-down made disabled.
In the Renaming rule
text box, when enabled, enter a custom name for the image files, using
dynamic values, prefixes and suffixes. No spaces are allowed in the custom
name. You can input dynamic data in the corresponding field by using the
InterAKT Dynamic Data selector.
Note: If you chose not to save the image name in a transaction
field, then the custom name can only contain the available transaction
field names (as dynamic values) and a defined extension.
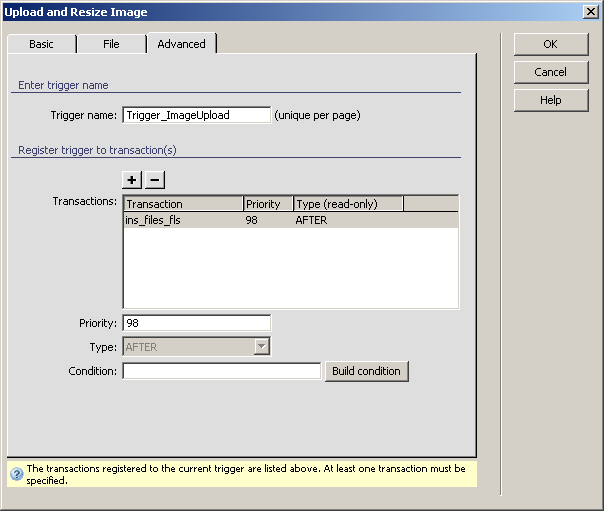
Click on the Advanced
tab to continue with configuring the trigger.
For instructions on completing this interface, see the
Advanced tab.
When uploading a new image through an update transaction (e.g. to replace
a photo), the program will remove all thumbnails of the previous image.
They will be re-created when a page containing the Show
thumbnail server behavior is displayed in a browser.