After applying the Create
NeXTensio Form Wizard, you can alter the properties of the
NeXTensio form fields by using the Manage
NeXTensio Form Wizard. It is accessible
from two locations:
The MX Kollection tab
of the Insert bar.
The Application panel,
Server Behaviors -> + -> MX Kollection ->
Forms -> Manage NeXTensio Form Wizard.
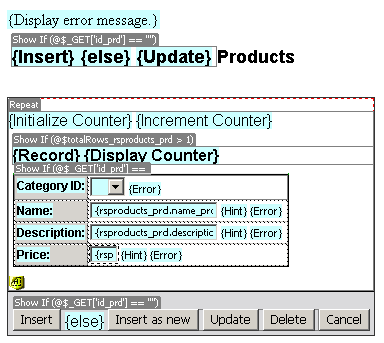
This command has two steps and it can be applied any time you want to
make changes in the fields of a NeXTensio
form in page. These changes regard the three operations: insert, update
and delete that can be performed on the NeXTensio
form fields. So you can add or remove fields from the form, or you can
update the existing ones (their label, the way they are displayed).
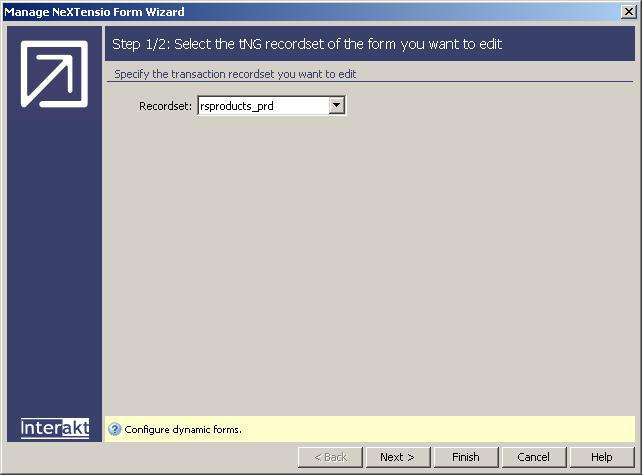
The first step of the wizard informs you of the recordset associated
to the form:
Note: Since there can only be one NeXTensio form in the page, the wizard automatically
opens with the second step. If you want to know which recordset is associated
to the form, you can hit the < Back button
in that second step and check out the recordset in the first step.
In the Recordset drop-down
menu, the recordset corresponding to the NeXTensio
form in page is already selected.
The five buttons in the lower part of the interface
offer the following functionalities:
· With the
< Back / Next
> buttons you can navigate through the wizard's steps.
· Click Finish when you are done configuring the wizard.
· Click Cancel to exit without applying the new settings.
· The Help button opens this help page.
These buttons are common to both steps of the Manage
NeXTensio Form Wizardinterface.
Click Next to continue
with configuring the wizard.
To set the dialog box options for the second step of the wizard, follow
the instructions below:
In the Form fields grid,
there are listed the current table columns that appear in the form. You
can add or remove elements by clicking on the Plus
(+) and Minus (-) buttons on top
of the grid. Also, you can change the order columns are displayed in,
by pressing the Up (^) and Down
(v) buttons.
For each
field there are some properties that can be modified. To access them,
select (single-click) a form field from the grid in order to modify its
properties. The available properties are detailed below.
In the Label text box
you can modify the field's label.
In the Show on drop-down
menu select the operations on which you want the field to be displayed
(insert, update, or both).
In the Display as drop-down
menu select one of the available options: Text field, Text area, Menu,
Hidden field, Checkbox, Radio group, Password field, Text, File field.
Depending on your selection, the interface may change. Get all the needed
information about these options from here.
Click Finish when you
are done configuring the wizard.
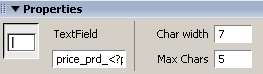
If
for any of the form fields you want to modify the Char
width and/or the Max chars properties,
follow the steps:
Select the corresponding field in Dreamweaver
(Design View):
Use the Property Inspector
to alter these elements: