![]()
![]()
In this topic you will modify the form that allows adding and editing articles so that authors and editors can create HTML in a visual manner. You will use the KTML 4 Dreamweaver extension to replace the form generated textarea:
Open the admin/form page in Dreamweaver.
Click on the textarea to select it.
Go to the Server Behaviors tab > Plus (+) > KTML4 and select the KTML4 entry. The user interface that opens is divided into four (4) tabs which are explained below.
In the Basic tab configure
general editor settings:
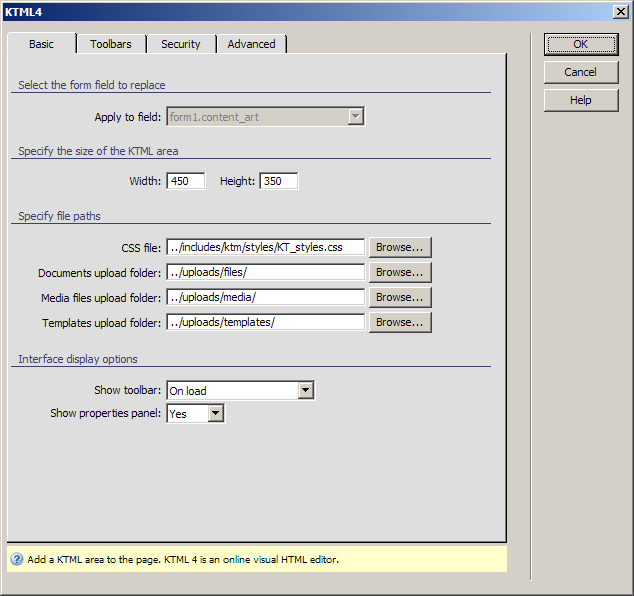
In the Apply to field drop-down menu select the form element to replace with the KTML 4 control. Fields are described with the form name and the actual field name. By default, the textarea you clicked on is selected.
In the Width and Height text boxes enter the editor dimensions in pixels. Enter 500 for Width and 600 for Height.
In the CSS file text box enter the path to the file containing the styles to display in the editor toolbar. Use the default KT_styles.css file.
In the Files Upload folder text box enter the path to the folder where uploaded files will be stored. By default, it is the files directory in the uploads folder from the site root. If you do not already have this folder created, KTML will automatically create it for you.
In the Media Upload folder text box enter the path to the folder where uploaded media files will be stored. By default, it is the media directory in the uploads folder from the site root. If you do not already have this folder created, KTML will automatically create it for you.
In the Templates upload folder text box enter the path to the folder where to store the user uploaded content templates. You can click the Browse button and select it. The default is the templates folder within the uploads folder.
In the Show toolbar drop-down menu select when to display the editor's toolbar. Select On load to always display the toolbars.
The Show property inspector drop-down menu allows you to decide whether to display property panels for some of the HTML tags or not. Set it to Yes.
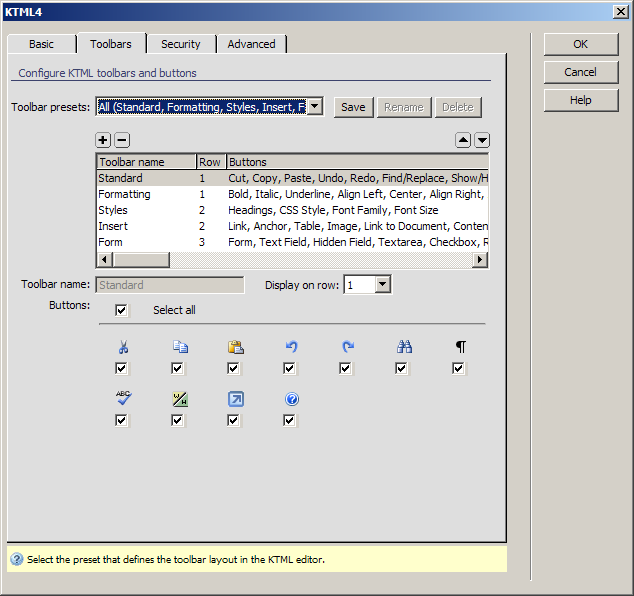
In the Toolbars tab
configure what editor toolbars and buttons will be displayed. Because
the editor will be used by registered users only, you can safely allow
all options. In the Toolbar presets drop-down
menu select All:
With the Security tab
define what security restrictions you need, regarding files and folders:
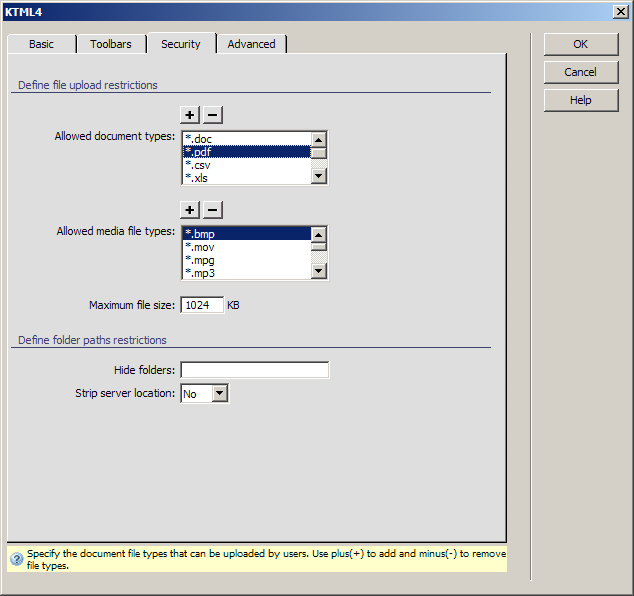
In the Allowed document
types all file extensions that the user can upload as documents
are listed. You can remove and add extensions by clicking the Plus
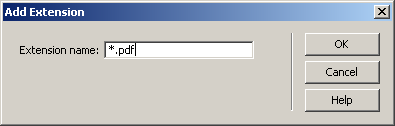
(+) and Minus (-) buttons. Click Plus (+) and in the pop-up dialog enter the new extension:
*.pdf:
In the Allowed media file types define what media file extensions can be uploaded. Similar to the field above, you can add new extensions to the list, or remove listed ones.
In the Maximum file size text box enter a value in KB that the user uploaded files cannot surpass. Enter 500.
In the Hide folders text box enter the names of any folder in the uploads folder that you do not want displayed. Leave this field empty.
In the Strip server location drop-down menu select No.
On the last tab - Advanced
- define some of the KTML 4 editor's behavior
settings:
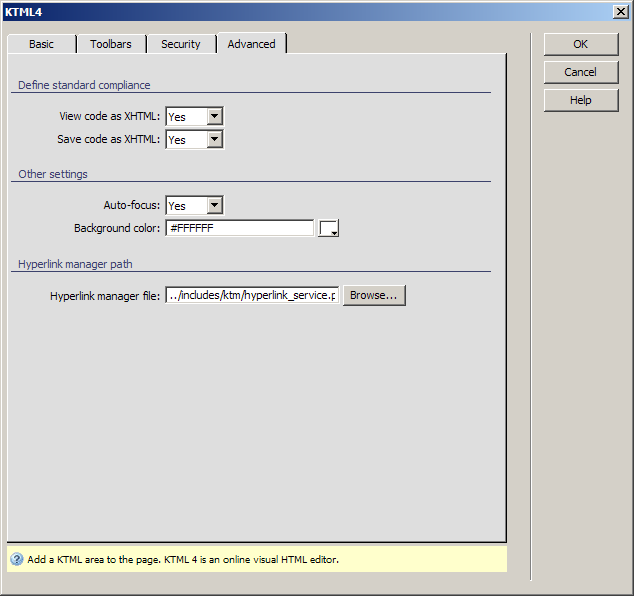
In the View code as XHTML drop-down menu select Yes. This will display clean code when switching from design to code view.
In the Save code as XHTML drop-down menu select Yes. The content code saved in the database will be XHTML compliant.
In the Auto-focus drop-down menu select No.
Leave the Background color text box unchanged - use white as the editor background.
Also leave the Hyperlink manager file setting at its default.
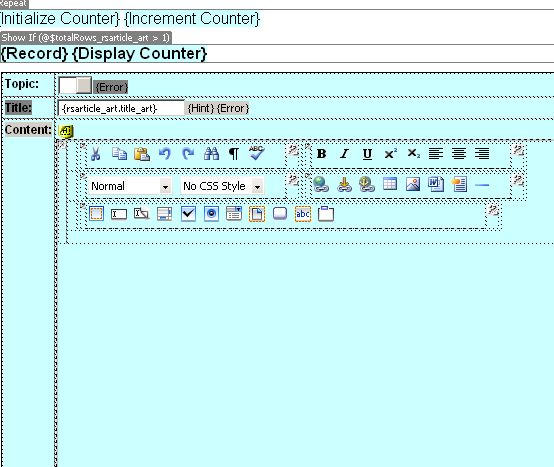
When you are done setting all options, click OK to close the user interface and apply the changes.
A full scale representation of the editor will be displayed instead
of the textarea within Dreamweaver:
This is all it took to enhance the way authors and editors add content. Instead of having to know at least the basic HTML tags, they can now use a full-featured rich HTML visual editor.
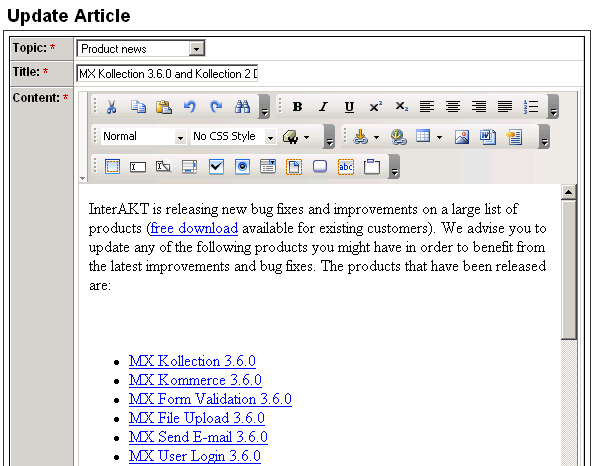
To try it out, save the page, then login with an author or editor account.
When viewing one of the existing articles - with an editor or the webmaster
account - it will be displayed within the editor the same way it is displayed
on page:
In the next topic you will add the finishing touch by allowing only the right users to add, edit or delete articles.