![]()
|
|
![]()
|
|
In this tutorial you will learn how to adapt the MX Kollection 3 elements to better fit your existing design and style. All this is done by using the fact that most of the HTML elements inserted by the MX Kollection 3 wizards and server behaviors use CSS files.
Besides choosing from one of the skins provided, you can also create a skin that integrates with your existing site smoothly, in a simple manner.
The application used in this tutorial is the web-site of a small company, that uses for the design an existing template, and for the dynamic elements MX Kollection3 Bundle.
The modules needed to complete this tutorial are:
NeXTensio
For the basic operations requested in order to create a new skin, basic knowledge of graphic editing is required, while for more advanced changes, you will need some knowledge of CSS.
In this tutorial, you will customize an application that has been already created, that contains three pages:
A NeXTensio List used to display the company products
A NeXTensio Form used in conjuncture with the list, to allow editing of elements
A Contact Form, that allows users send their messages through e-mail to the company.
The application uses a template design, and all that has to be changed are the list, form and contact form appearance, through the CSS files.
The tutorial will not present how to create the NeXTensio list or form, or the contact form. These elements can be found in one of the other tutorials (for the NeXTensio list and form, see the Job site tutorial > Improve the Job Site > Receive job ads by e-mail ; to learn how to create the contact form that sends the e-mail message, see the How to Send Form Contents by E-mail (without using a database) tutorial).
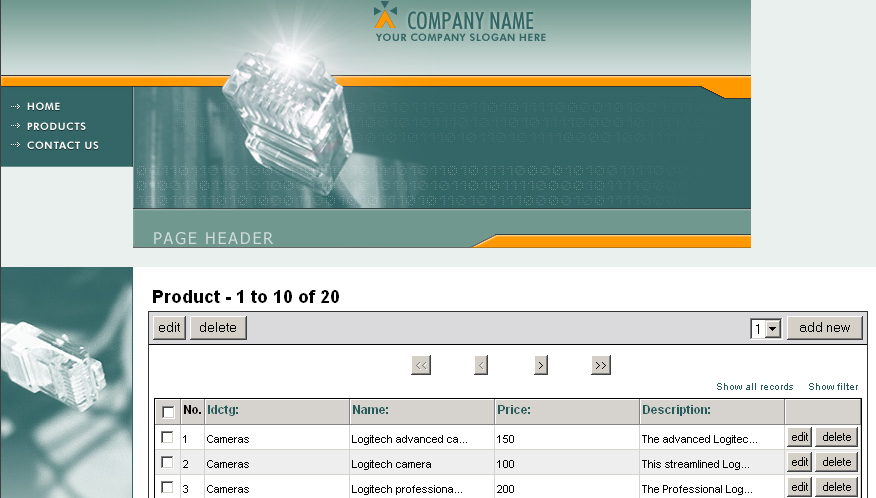
The pages look as follows in the browser (no customization yet):
The NeXTensio product list:
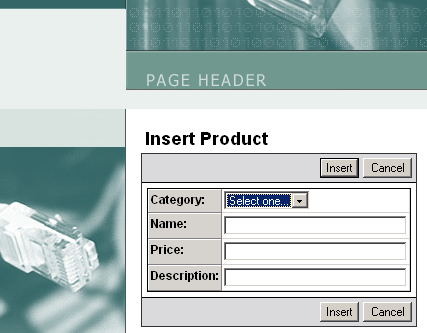
The NeXTensio form for one element:
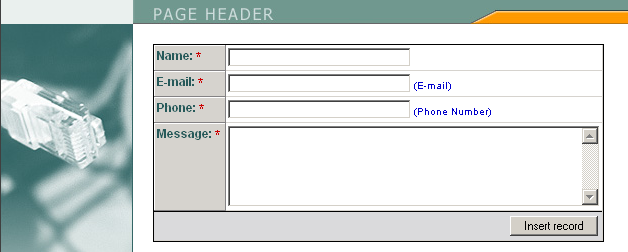
The contact form:
It's recommended that you follow this tutorial in the intended order to avoid potential problems.
Plan the Create Custom CSS Skin