![]()
|
|
![]()
|
|
The Multi-field Drop-down server behavior allows the web developers to include a multi-field drop-down in their site pages. Before applying it, there must be two recordsets created in the Dreamweaver page, a list/menu item and at least an input item inserted.
Also, the list/menu item must have values associated to it. Do this
dynamically, using one the two recordsets previously created, namely the
one that contains the foreign key table column. To do this, select the
list/menu item in your Dreamweaver page
and use the Property Inspector to associate
values to it:
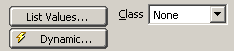
Hit the Dynamic button and configure the
dialog box that opens similarly to the following example:
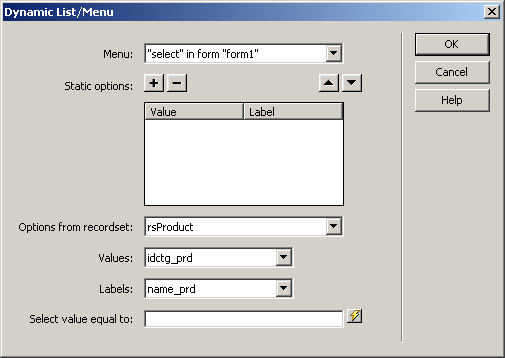
Select the recordset retrieved from the 'detail' table (the one that contains the foreign key). As values, select the foreign key, and as labels, select the field that will display the information you want to be shown.
This server behavior is accessible from the Application panel, Server Behaviors -> + -> MX Kollection -> Form Controls -> Multi-field Drop-down.
The user interface has only one tab. Directions about its correct configuration
are given below.
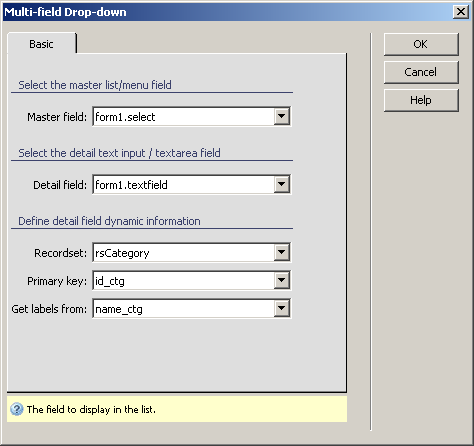
To set the dialog box options, follow the next steps: