![]()
|
|
![]()
|
|
To ease the creation of custom triggers, you can use the Custom Trigger server behavior which allows setting the trigger properties in a visual manner.
This trigger is accessible from the Application panel, Server Behaviors -> + -> MX Kollection -> Forms -> Custom Trigger.
The user interface has two tabs. Directions about their correct configuration
are given below.
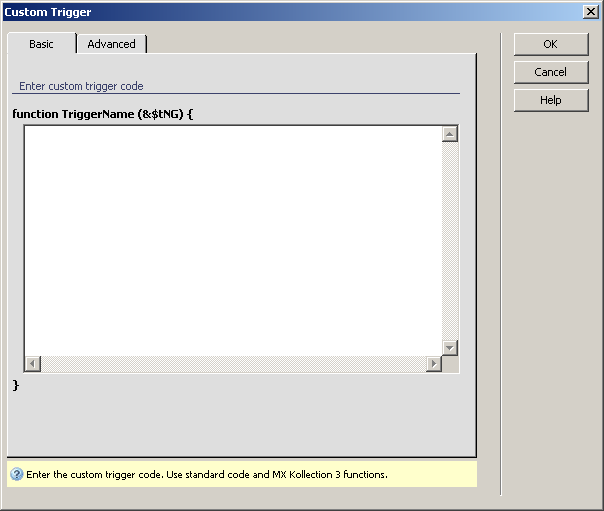
To set the dialog box options for the first tab, follow the next steps:
In the textarea, enter your own function code, in the programming language required by your server model. The function's definition is completed automatically and displayed in a generic manner (above the textarea), all these elements being replaced when the server behavior is applied (e.g. the function's name is displayed as TriggerName, but after you click the OK button, it will be replaced by the name set in the Advanced tab).
The three buttons in the top right corner of the
interface offer you the next functionalities:
· Click OK when you are done configuring the trigger.
· Click Cancel to exit without applying the new settings.
· The Help button opens this help page.
These buttons are common to both tabs of the Custom
Trigger

For instructions on completing this step, see the
Advanced tab. The difference is that for the Custom
Trigger, the Type drop-down menu is
not read-only and it gives you the opportunity to choose the trigger type.
Also, the Priority is by default set to 50.