![]()
![]()
Designing the database structure is essential when building dynamic
sites. This tutorial, however, focuses on the KTML
4 features and behaviors that you can see and use in browser. That
is why, you will use a very simple and clear structure. It uses only one
table:
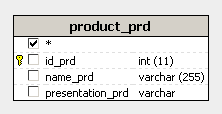
Note: The database diagram in the image above was built with MX Query Builder (an InterAKT product, also referred as QuB) to better illustrate the database structure. You do not need to build it in order to complete this tutorial.
The product_prd table stores data about products:
id_prd - product ID.
name_prd - product name.
presentation_prd - content of the presentation page for a product.
To quickly create the database structure, use the scripts provided in the .zip package (either .sql or .mdb) corresponding to your database server. You can find the scripts in the \tutorials\your_server_model\Publish Web Content\db\ folder.
Note: When locating this path, replace "your_server_model" with the server model you are using.
There is only one record inserted in the product_prd database table:
ID: 1
name: MX Kollection
presentation: Product presentation - this is the content that we are going to edit so that it looks like the MX Kollection presentation page on the InterAKT Online website.
Before you start building the actual application, there are a few things that you should do:
Make sure you have a correctly configured site in Dreamweaver.
In order to complete this tutorial, you need several files and folders in the Dreamweaver site. To quickly create them, simply unzip the package corresponding to your server model from the \tutorials\your_server_model\Publish Web Content\ folder, in your local site root. The following folders and files will be found there:
The files folder: here is where you will upload the images and movies needed for editing the product presentation page. The folder is empty right now.
The templates folder: here is where the used template files will be uploaded. The folder is empty right now, and it will remain empty since no template files will be used in this tutorial - but a folder for uploading templates is needed when configuring the KTML 4 sever behavior.
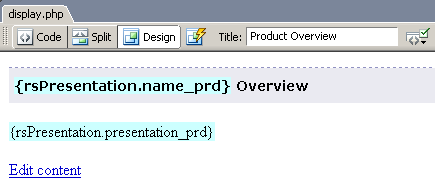
In the display page you must create a recordset
that retrieves the last entry end displays it, along with a link to edit
it.
This is how the display page should
look in Dreamweaver:
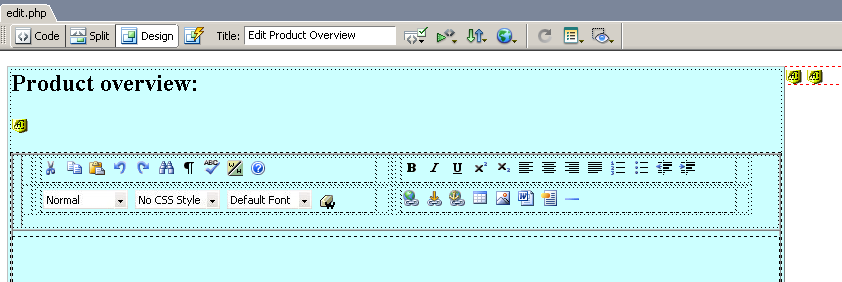
In the edit file
you must apply the Record Update Form Wizard to update the database entry,
and replace the textarea with the KTML control.
This is how the edit page should look
in Dreamweaver:
In order to complete the presentation page for
MX Kollection, you need certain images and a
flash movie. They can be found in the \tutorials\your_server_model\Publish
Web Content\presentation\ folder. In this folder, you will also
find a .doc file that you will use later on.
So copy the presentation folder in your site
root as well.
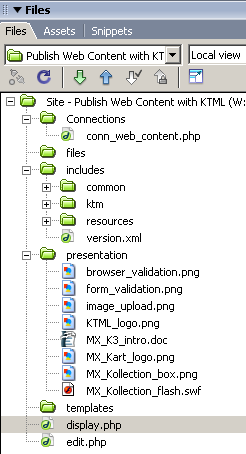
At this point, your site structure should look like this:
Open the display
page and create a Dreamweaver database connection,
conn_web_content:
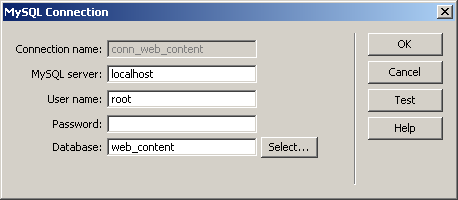
Configure it to connect to your database server and make it point to
the database containing the table described above.
Note: For more instructions on how to configure your site and the database connection, consult the Getting started help file. It can be accessed from the Help menu, InterAKT -> Getting Started.