![]()
|
|
![]()
|
|
In this topic you will create a page that will display all employees in the database. For each employee, the name, salary and a thumbnail of their photo will be displayed using a NeXTensio list. By using the NeXTensio list, you can easily filter, add, update or delete entries.
To build the page, follow the steps below:
Open the index page in Dreamweaver.
Start the Create NeXTensio List Wizard from the MX Kollection tab of the Insert panel.
Configure each step of the wizard as follows:
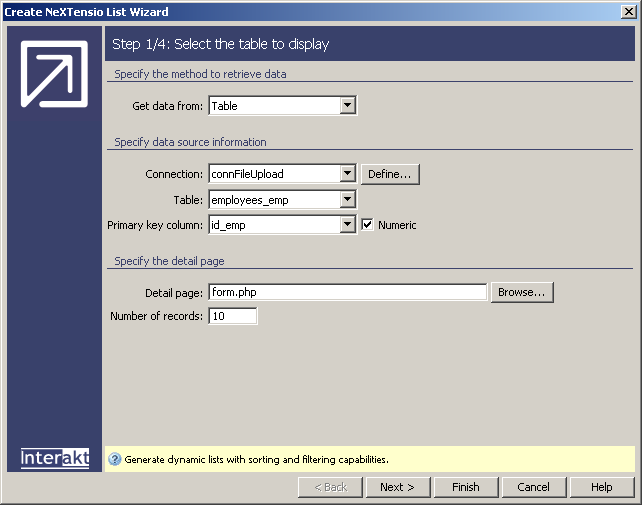
In the first step, set it to use the database
connection defined at the beginning of this tutorial (connFileUpload),
and the table storing the employee data (employee_emp).
Leave the form page value at its default (form):
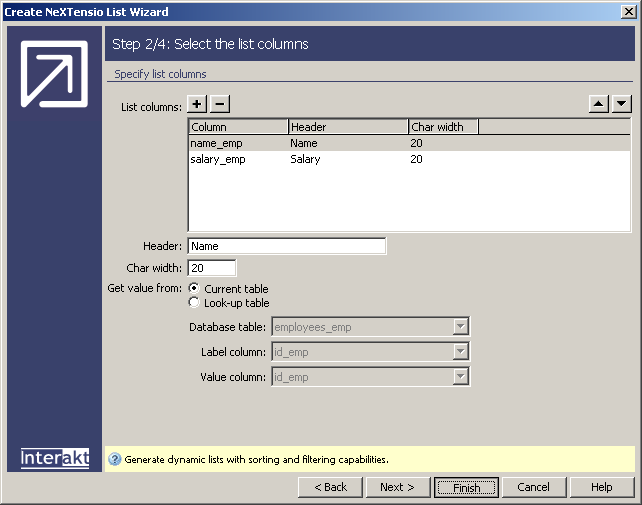
In the second step you have to decide which
table columns to display in the list. Excluding the primary key (which
is automatically removed from the list), there are only two other fields:
name and salary. Leave both fields in the list. Since they are simple
text fields, you can simply click on Finish
to close the wizard and create the list. No other particular options are
required.
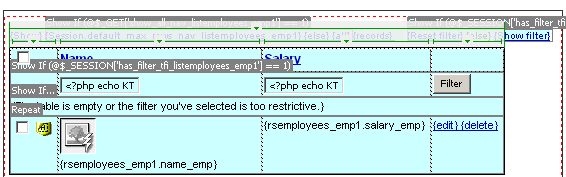
Now the list only displays the employee name and salary, as retrieved from the database. But, as stated above, the goal is to also display thumbnails of each employee photo.
These will be shown next to the name, in the same cell. Place the mouse cursor before the employee name dynamic text in the list and apply the Show thumbnail server behavior from the Server Behaviors tab > + > MX Kollection > File Upload.
Configure the user interface as follows:
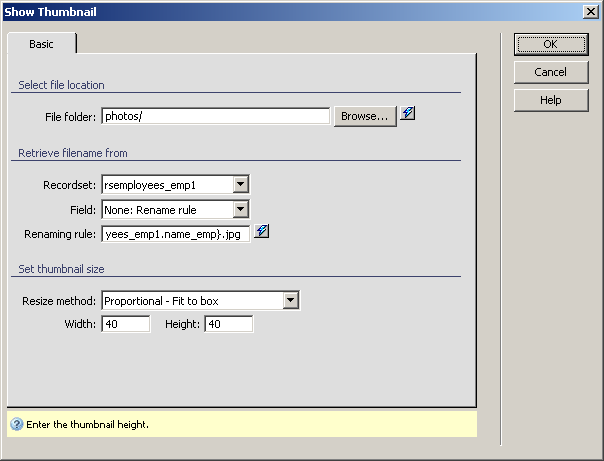
In the File folder text field enter the path to the folder that stores the files. Click on the browse button and select the photos folder in the site root.
In the Recordset drop-down menu leave the selected list recordset. It will not be used, because the file name will be composed using a rename rule. It will be made up from the employee name and the jpg extension.
In the Field drop-down menu, select None: Rename rule. This will enable the Renaming rule text field below.
In the Renaming rule text field you will have to enter the rule based on which the filename will be composed. The rule will contain dynamic text (the current employee name) and the static extension. To add the dynamic data, click on the blue lightning bolt (the InterAKT Dynamic Data).
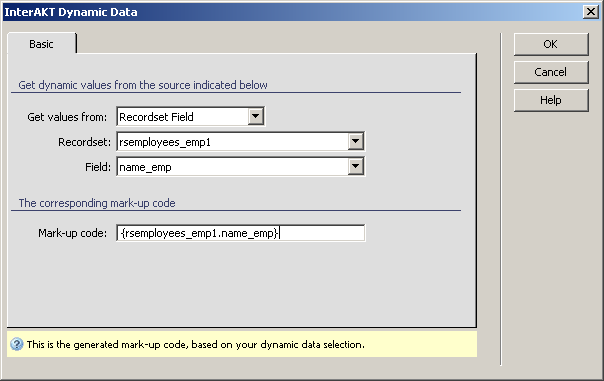
In the InterAKT Dynamic
Data dialog box, select the source recordset (the list recordset)
and the field to use (name_emp). A mark-up
will be automatically generated based on your selection:
Click on OK to add the dynamic data to the Show Thumbnail user interface. Then place the cursor after the added markup and type: .jpg
In the Resize method
drop-down select Proportional - Fit to box.
This means that the image will be resized, but it will keep its proportions.
For the width and height enter 40 pixels.
Click on OK
to apply the server behavior. An image translator will be displayed in
Dreamweaver next to the employee name:
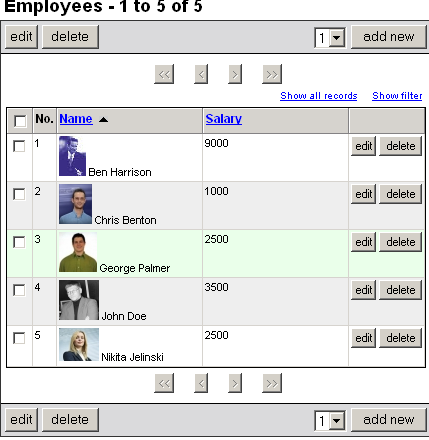
Now the list is complete. You can save the page and upload it to the
server. Also remember to upload the photos folder, and the includes folder.
Then you can see the employee list, together with pictures in the browser:
Now you can move on and create the NeXTensio list's form counterpart, which will allow adding, editing and deleting employees. Aside the NeXTensio fields for name and salary, you will also have to add a file field, for the photo.